
Holidays
How to Create the Perfect Custom Shirt for Back-to-School Season

Jul
With the back-to-school season on the horizon, there’s a sense of new beginnings in the air. As students prepare to return to their routines and reunite with friends, it’s the perfect time to think about making a unique statement. Custom shirts are a fantastic way to show off personal style and school pride.
Step 1: Choose the Right Shirt
The foundation of a great custom back-to-school shirt is the shirt itself. Here’s how to choose the perfect base:
- Material: The material of your shirt is crucial for comfort and durability. Cotton and cotton blends are popular choices due to their softness and breathability. Polyester blends can offer moisture-wicking properties, making them ideal for active wear. Consider the climate and the intended use of the shirt when selecting the material.
- Fit and Style: The fit and style of the shirt should match the wearer’s preference and the occasion. Options include:
- T-Shirts: Versatile and casual, perfect for everyday wear.
- Polo Shirts: A more polished look suitable for casual and semi-formal occasions.
- Long-Sleeve Shirts: Great for cooler weather and layering.
- Hoodies and Sweatshirts: Ideal for a cozy and relaxed look, especially as the weather gets colder.
- Color: Choose a base color that complements your design. Neutral colors like white, black, and gray are versatile and make designs pop. Bright colors can be fun and eye-catching but may require more careful design planning to ensure everything looks cohesive.
Step 2: Determine the Design
A compelling design is the heart of your custom shirt. Here’s how to create or select a design that resonates:
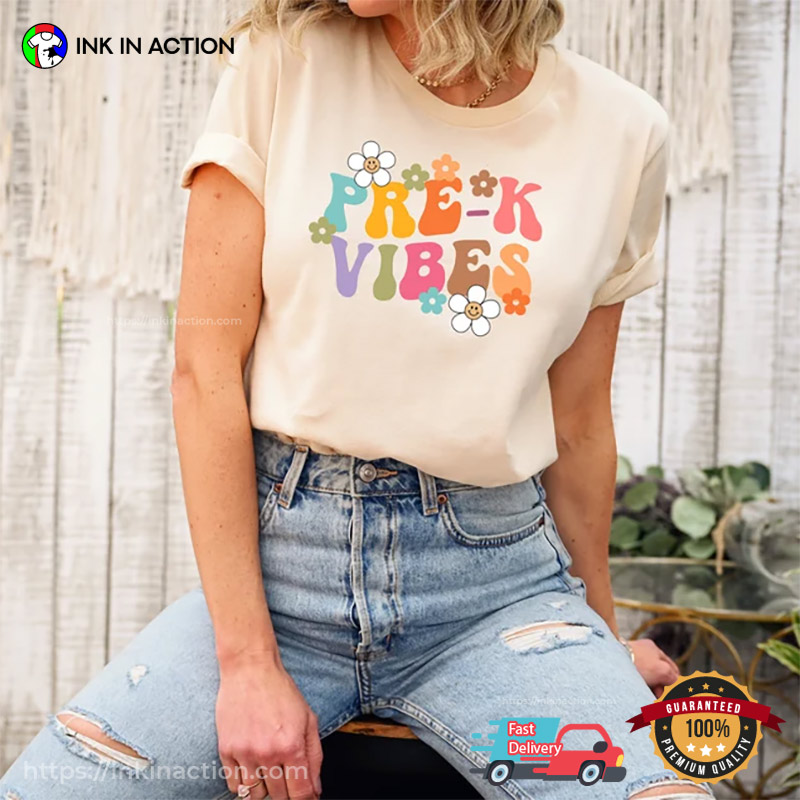
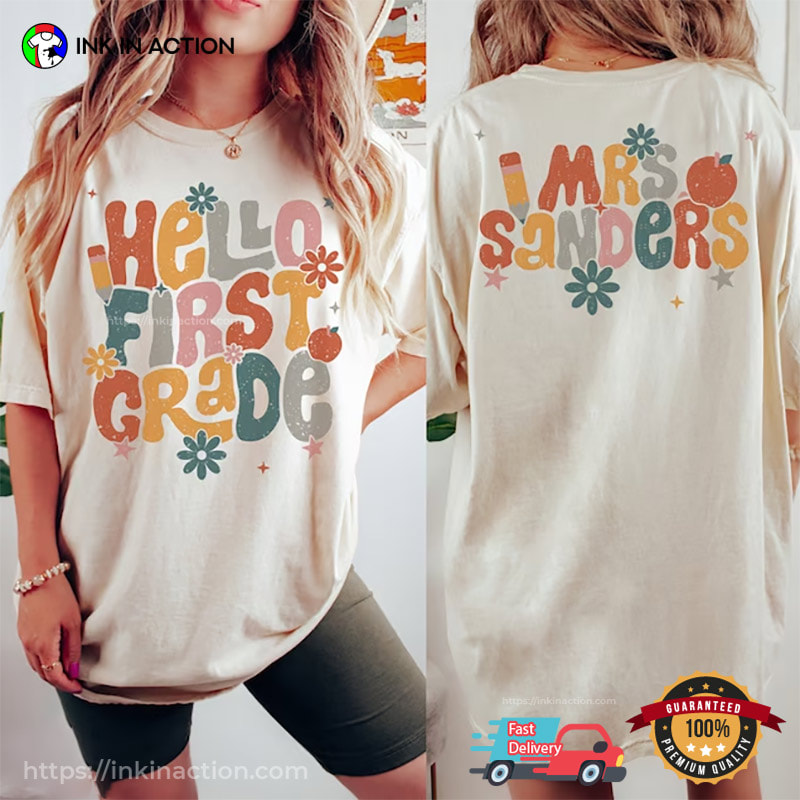
- Theme: Decide on a theme for your shirt. This could be related to school spirit, a favorite subject, a hobby, or an upcoming event. For school-themed shirts, incorporating elements like the school mascot, logo, or motto can add a personal touch.
- Graphics and Text: Choose graphics and text that align with your theme. You can create your own artwork or use existing images and fonts. If you’re not artistically inclined, consider hiring a graphic designer or using online design tools that offer pre-made templates.
- Colors: Select colors that work well together and match your theme. Use color theory principles to choose complementary or analogous colors. Ensure the colors stand out against the base color of the shirt.
- Simplicity vs. Complexity: Decide on the complexity of your design. Simple, bold designs are often more impactful and easier to print. However, if you’re aiming for a detailed design, make sure the printing method you choose can handle intricate details.
Step 3: Use Design Tools
Modern technology makes it easy to design your custom shirt, even if you’re not a professional designer:
- Graphic Design Software: Tools like Adobe Illustrator and Photoshop are industry standards for creating custom designs. They offer extensive features for creating vector graphics, which are ideal for printing.
- Online Design Platforms: Websites like Ink In Action, and Printing Ooze, offer user-friendly design tools with templates and clipart. These platforms are great for beginners and provide a straightforward way to visualize your design on a shirt.
- Mobile Apps: There are also mobile apps available that allow you to design custom shirts on the go. Apps like Canva and Design & Get Your T-Shirt are intuitive and offer various design elements to help you create your masterpiece.
Step 4: Choose the Printing Method
The quality of your custom shirt largely depends on the printing method you choose:
- Screen Printing: This method is ideal for bulk orders and designs with few colors. It produces vibrant, durable prints but requires a setup fee, making it more cost-effective for larger quantities.
- Heat Transfer: Suitable for small batches, heat transfer is cost-effective and allows for complex designs, including photographs. However, the prints may not be as durable as screen printing.
- Direct-to-Garment (DTG) Printing: Perfect for detailed and colorful designs, DTG printing offers high-quality results for individual or small orders. It prints directly onto the fabric, allowing for intricate designs and a wide color palette.
- Embroidery: For a more professional and durable look, consider embroidery. This method works well for logos and text and adds texture and dimension to your shirt. It’s particularly popular for polo shirts and sweatshirts.
Step 5: Customize the Shirt
Customization is where your shirt truly becomes unique:
- Positioning: Decide where to place your design on the shirt. Common positions include the chest, back, sleeves, and smaller areas like the pocket or hem. Consider how the design will look when worn.
- Sizing: Ensure your design is appropriately sized for the shirt. Use templates or mock-ups to test different sizes and positions. Remember the shirt’s proportions and how the design will appear when the shirt is worn.
- Additional Customizations: Add extra touches to make your shirt stand out. Options include:
- Names and Numbers: Personalize shirts with individual names or numbers, especially for team or group shirts.
- Patches and Pins: Add embroidered patches or enamel pins for an extra layer of customization.
- Mixed Media: Combine different printing methods (e.g., screen printing and embroidery) for a unique, textured look.
Step 6: Place Your Order
Once your design is finalized, it’s time to bring your custom shirt to life:
- Find a Reputable Printer: Research and choose a reliable printing service that offers the printing method you prefer. For example, Ink In Action, or Printing Ooze
- Order a Sample: If possible, order a sample shirt to ensure the quality of the print and material meets your expectations. This is especially important for bulk orders.
- Bulk Order: Once you’re satisfied with the sample, place your order. Many printing services offer discounts for bulk orders, so consider ordering extra shirts to save money.
Step 7: Promote and Wear Your Custom Shirt
Now that your custom shirt is ready, it’s time to show it off:
- Promote Your Design: If you’re creating shirts for a group or event, promote your design on social media, school newsletters, and community boards. Generate excitement and encourage others to wear the shirts.
- Coordinate with Outfits: Plan how to style your custom shirt with other clothing items. Consider pairing it with jeans, skirts, or accessories that complement the design.
- Group Photos: Organize a photo session with everyone wearing the custom shirts. Group photos can create lasting memories and showcase your creativity and school spirit.

Conclusion
The back-to-school season is a time of renewal and fresh starts, and what better way to embrace this spirit than with a custom shirt that captures your unique style and school pride? By following the steps outlined in this guide, you can create a custom shirt that is not only stylish but also meaningful.